What I Used:
Blue base: China Glaze For Audrey
Darker pink: Jessica Harlequin #481
Lighter pink: Nicole by OPI City-Pretty Rose
Black: Sally Hansen Xtreme Wear Black Out
Silver: Revlon Smoldering
Hello Kitty cupid water decal from Born Pretty Store
How I Did It:
***Why yes, I'm trying out a new font for the how-to's. If you prefer the cleaner look of Century Gothic, please do let me know in the comments. Feel free to enlarge as it's a huge 1500x2400!
Truth be told, coming up with the how-to graphic was more tedious than doing the actual design! You can go crazy with the dotted lines and make them go every which way. I love that aspect where not every single recreation of this design will look exactly the same. As for tips and tricks on how to best apply the Hello Kitty water decal, Marta has a great tutorial over on Chit Chat Nails. I'll be posting my own tutorial later on after I've worked more with them. Personally, I think there's a sort of learning curve associated with them. Yes, they're easy to use but there are a few things I've learned along the way that I wish I knew earlier on. Suffice to say that the right water container, a pair of tweezers and a whole lot of patience are your best friends when dealing with water decals.
No Valentine's Day nails will be complete without roses!
..and some rose petals, too!
...and a red plush heart to boot!
Mr. Thumb didn't want to miss out on posing with the heart plushie.
Thumb: Look at that, right smack in the middle.
Pinky finger: Cupid Kitty, hello!
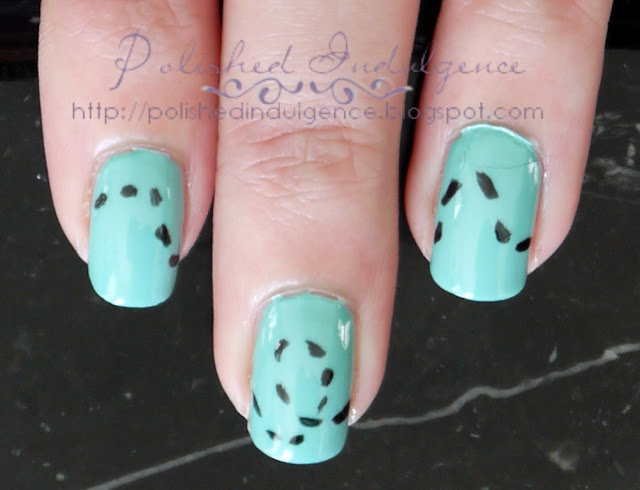
Index, middle and ring fingers: The more dashes, the better.
Hammie says: Will you be my valentine?
Happy Hump Day! How did you spend your Valentine's day? Or was it just like any other Tuesday? Have you found inspiration in an existing nail art design and made it your own?


Super Cute!
ReplyDeleteBrilliant way to utilize the hello kitty decal AND I adore the background colour! :)
Thanks, Marta! :D I'm a sucker for simpler designs and Tiffany blue. ;)
ReplyDelete