

Our happily ever after began two years ago today. *grin*

And here's the nail art I came up with to celebrate!
What I Used:
White creme base (and stamping polish): Finger Paints Paper Mache
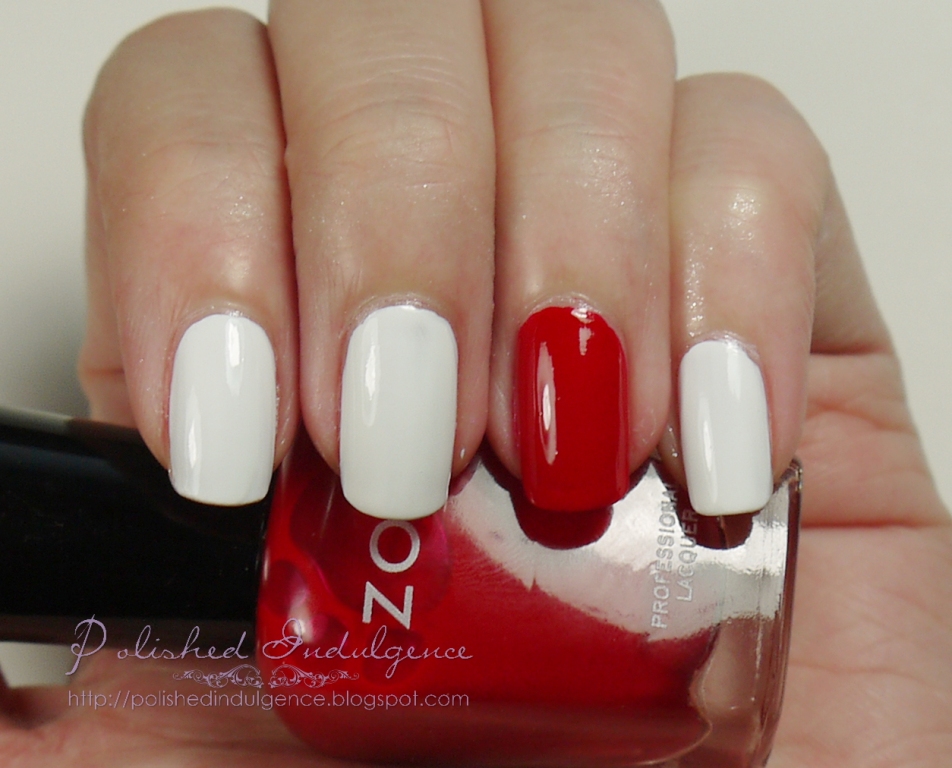
Red creme base: Zoya Carmen
Pale blue creme: Barielle Swizzle Stix
Pale blue grey creme: China Glaze Sea Spray
Silver holographic: Color Club Worth the Risque
Various sized bronze gems from Cult Nails
Bundle Monster plate 311 (ring) and 317 (thumb)
A piece of crumpled saran/cling wrap, a piece of foil and tweezers
How I Did It:
Step 1: After applying your favorite base coat (I used Essie Feed Me Hydration Base Coat), apply your base colors. I chose red for the accent nails (ring and thumb) and white for the rest of the nails.
Step 2 (for nails with white base): When your base colors are dry, take some saran wrap and crumple it into a ball. Don't crumple it too tightly though, to give you a better texture. Next, take your piece of foil and brush on some of your blue and gray polish. The amount of each doesn't matter so long as you cover an area large enough to cover each nail. Working quickly, dab your cling wrap ball on to the wet nail polish and stamp on to your nail. I suggest working one nail at a time. It can get a bit messy but it's nothing that clean up can't fix.

Step 3 (optional): I wanted to add more interest so I took a holographic silver nail polish and stamped with it on top of the white based nails using the heart full nail pattern in BM 317. It didn't show up as much as I'd like though so if you want to do this, I suggest using a full on silver polish to stamp with instead or to skip this step.

Step 4: Take your white stamping polish and stamp on the designs as shown on to the nails with red base. Apply top coat on all your nails. While the top coat is still wet, take your tweezers and place the various shaped bronze rhinestones on the white based nails only. I was going for a more scattered look but the gems had a mind of their own and kept sticking close to each other. After you're done with the gems, finish with a thick layer of top coat over the top of the nails with gems. Stand back and enjoy your handiwork!

Now you might be wondering, why are the rhinestone numbers on each nail weird like that? Well, if you were paying attention earlier, you'd have figured out that they're our wedding date: 08.01.10. I was originally going to paint on numbers but where's the fun in that? :) I also wanted to take these gems out for a spin so it worked out really well. I was hoping for a cotton ball/fluffy cloud look with the nails with gems. Not to toot my own horn, but I think it looks pretty good for what I was going for. If you'd like a better in depth tutorial on how to employ cling wrap in nail art, I suggest you head over to this fantastic tutorial from my good friend Marta of Chit Chat Nails. The red nails are, you guessed it, my throw back to paper.

How excited was I to see the full nail heart pattern fit my thumb width? *grin*

Yep, that backdrop was a part of my wedding dress. We went full on traditional with lots of lace.

Lots of roses, too, both in my bouquet and on my dress.

How appropriate that I have bejeweled nails while holding hand beaded lace?

Honestly, it still feels like we just got married a few months ago.
Time does fly when you're having fun!
Happy Hump Day! (Hey, no double entendre intended!) Now, I know I skipped out on Monday's post but my inlaws just left late Sunday night (or early Monday morning) and frankly, I needed a break. And some time to get new swatches done for upcoming posts. I've got a few exciting ones coming up, as well as another twin post series happening next week that Hammie and I are stoked about. With the fall collections slowly trickling in, this sure is an exciting time to be a nail polish addict! Have you had your eye on any specific fall collection? What's your take on saran wrap nails? Do you like to pair your nail art to life events like birthdays and anniversaries?
AWHHHH, what a super sweet post and dedication.
ReplyDeleteHappy two year anniversary to you two lovebirds!
I adore what you created here! Everything plays soo well together and creates an overall gorgeous look
such a sweet post! I love what you did with the Cult Nails Gemstones! I've been looking for a way to play with them and you have completely inspired me! Gorgeous!
ReplyDeleteCongrats! And I love that fluffy look!
ReplyDeleteAww, shucks. *blushes* Thanks, Marta! :D Btw, I can totally see why you can't stop with the saran wrap. It's so darned easy and the outcome looks fantastic! I'm definitely using it more in upcoming designs. :D
ReplyDeleteThanks, Stephanie! :D The really big one is a little tricky to use (and it certainly looks a bit funny by itself!) but all the other sizes are awesome! Can't wait to see what you come up with. :D
ReplyDeleteThanks, Susan! :D To be honest, if I didn't wait for it to dry and added top coat immediately, it probably would have looked even better.
ReplyDeleteYou and me both! I am sooo hooked on this technique
ReplyDelete